|
|
Post by Lee Hedges on May 23, 2011 12:52:56 GMT -8
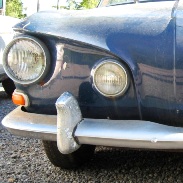
Has anyone successfully restored the faded colors in the T34 rear lenses? This set has the worst fading I've seen in 25 years but the plastic & aluminum ring is in great condition. I believe they would be able to be used again IF the solid red color can be restored.  Any ideas?  I've heard that you can spray red paint on the backside then clearcoat the outside. I found a 3oz Candy Apple Red spray paint from Testors #1605 on ebay for $7 shipped. I'll give it a try and report back on the results. I'm just wondering how the clearcoat would survive in the direct sun. Maybe it's better to simply buff-out the outer plastic to get it to shine like new again vs using the clearcoat?  |
|
|
|
Post by Franck Boutier on May 23, 2011 13:09:42 GMT -8
Hello Lee,
Why not trying to use red clear color ("HUMBROL" Transparent paint for toy models) ?
Certainly needs more than one layer.
Franck.
|
|
Kharon
Pro
 VWs: '61 typ2, '63 typ 14, '65 typ34, '74 412 & -75 typ261 Also other cars & bikes.
Posts: 77
|
Post by Kharon on May 25, 2011 14:38:06 GMT -8
I've seen these faded lenses painted with relatively good success: It might not be the exact colour of the original but "red" anyway, much better than faded original. These ones look like they've been in California sun about 40 years.  Those were painted with glass painting colours, transparent paints. Same stuff many use nowadays to make "smoked" lenses. Many layers are needed as Franck says but on the other hand you can adjust the shade of the red. If buffing is enough to outside, I'd do just that, no clearcoat. IMHO the clearcoat is the tool to use when just buffing isn't enough, but you need some material to fill up the pits. |
|
|
|
Post by John Kanters on May 26, 2011 1:23:06 GMT -8
I would polish the outside with plastic polish and paint the inside with transparent paint like Franck suggested, Tamiya also make a good transparent red and orange. (available from hobby stores)
It may need a few coats though to make it dark enough.
On the outside if the lens has marks in it these can be sanded out with 600 grit, then 1500 grit, 2000 grit then a cutter / polish.
Same procedure as headlight restoration on modern auto's, lots of youtube vids on that.
|
|
|
|
Post by Lee Hedges on May 26, 2011 15:32:58 GMT -8
OK, the $7 spray can of Candy Apple Red by Testors arrived today. Four thin coats later and the inside of the rear lens is looking great! Big difference between the two original faded lenses now. Also compared them to the new repro (amber/red) lens and it's clear that the original lenses will need to be polished before looking good on the outside. 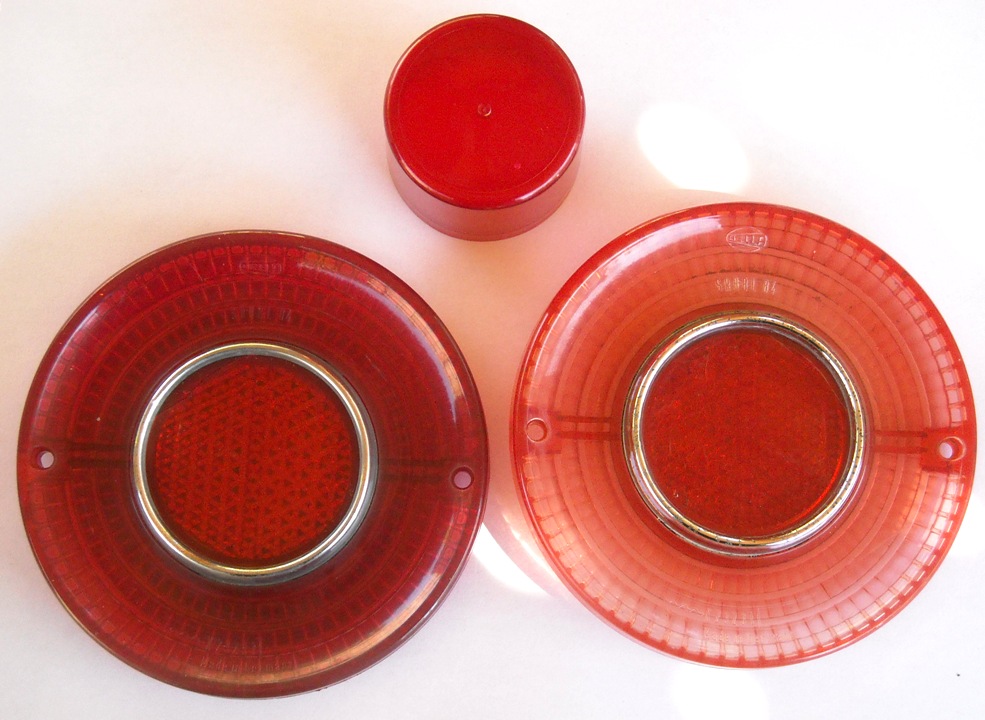 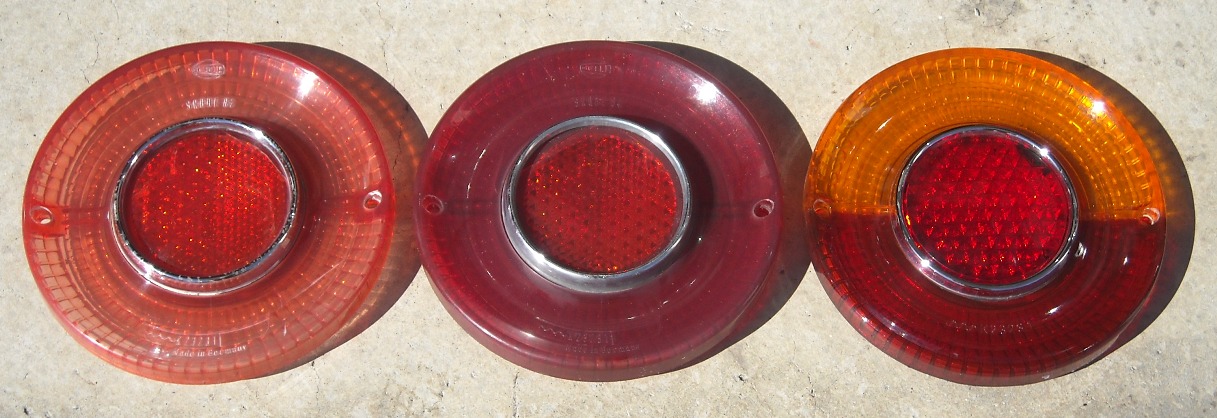 |
|
Deleted
Deleted Member
Posts: 0
|
Post by Deleted on Jun 11, 2011 1:31:27 GMT -8
I have used the Tamiya hobby paints with great success for years.... I did a set of tail lights for my Squareback only a few weeks ago.... The came up very nicely....
On another not.... Where did you get those repo amber top lens from Lee?
|
|
|
|
Post by Lee Hedges on Jun 11, 2011 9:14:58 GMT -8
The two-toned lenses are off my 1962, restored in 2000. I think I bought them from Lars Neuffer.
|
|